[WIP] Plank
I created this plank today. I'm trying to get better at sculpting/ texturing. I took screen shots of my process. Is this a good pipeline?
Step 1:
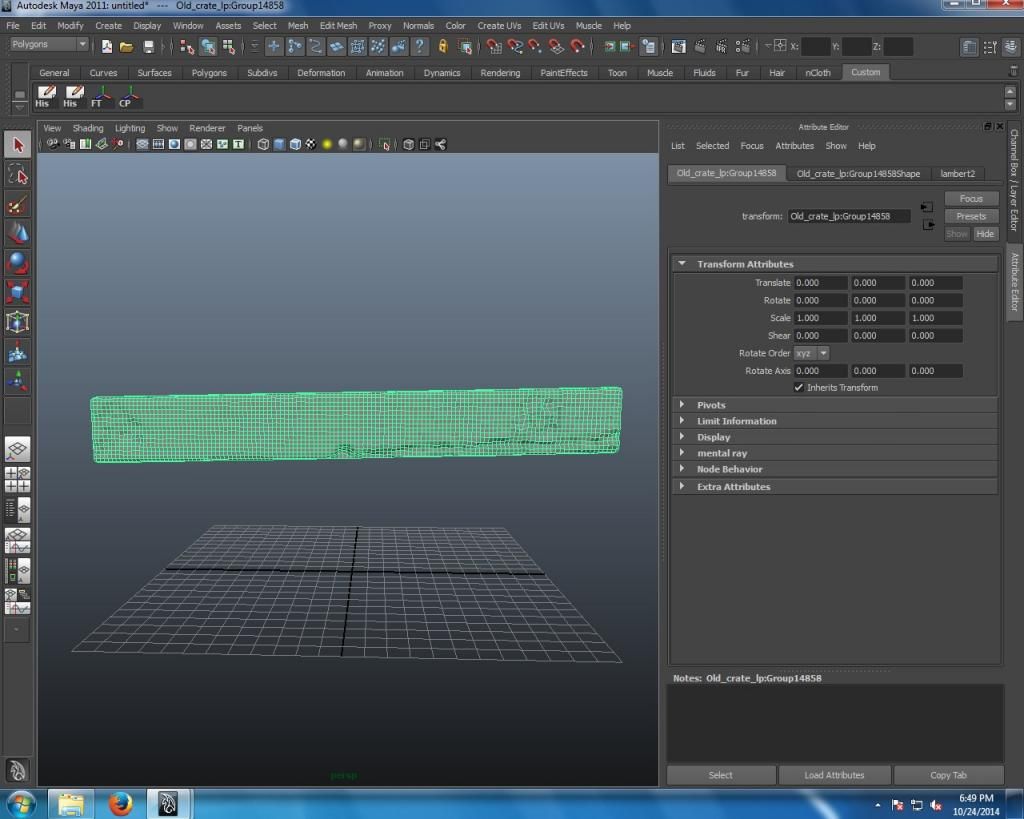
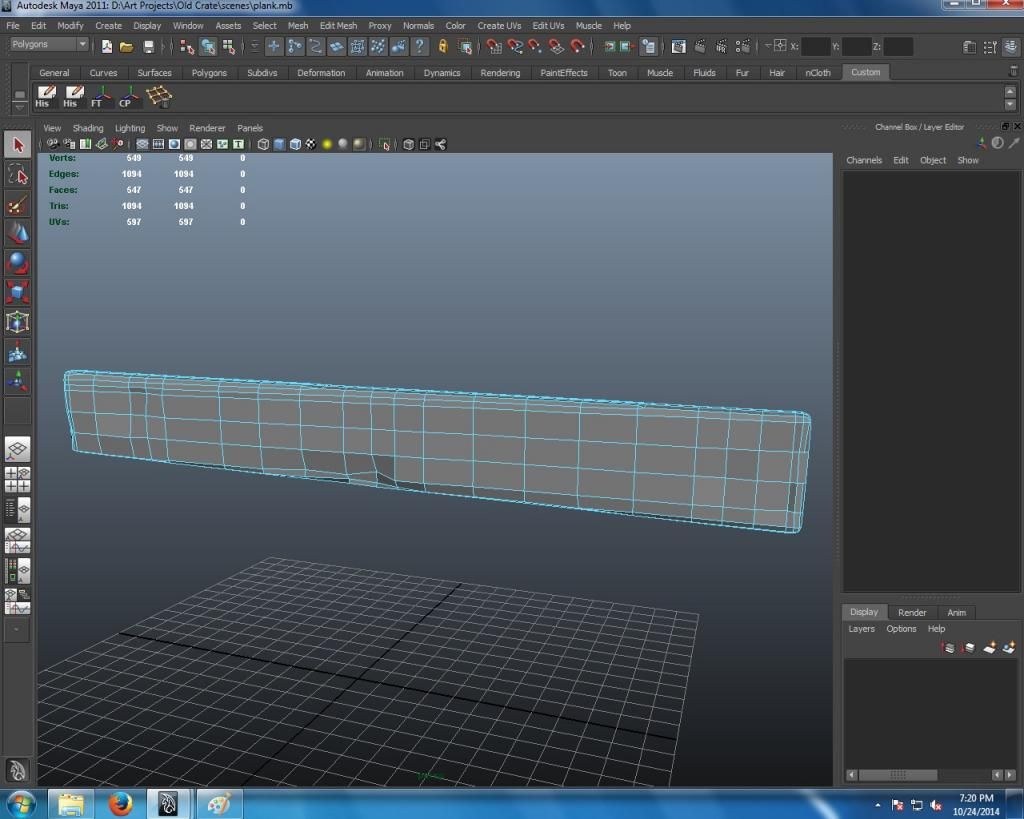
I made the model as low poly as possible in Maya then export it as an .Obj to Zbrush.
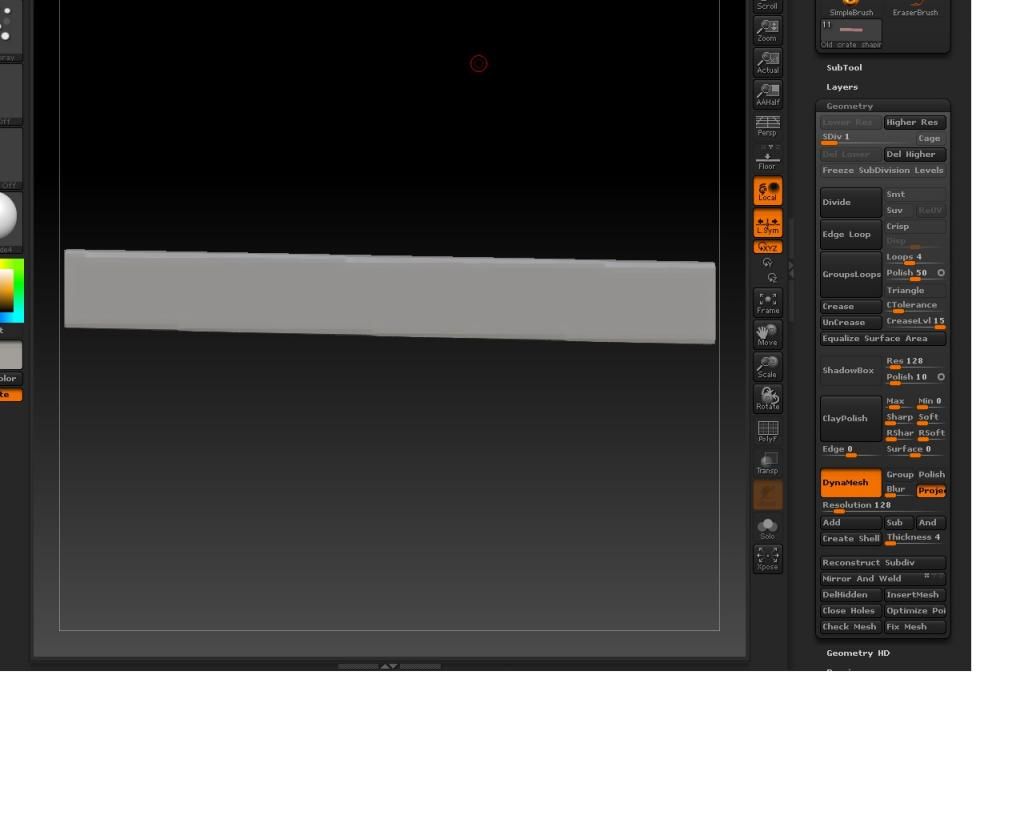
Step 2:
I apply Dynamesh to the subtool then I unwrap with UV master.
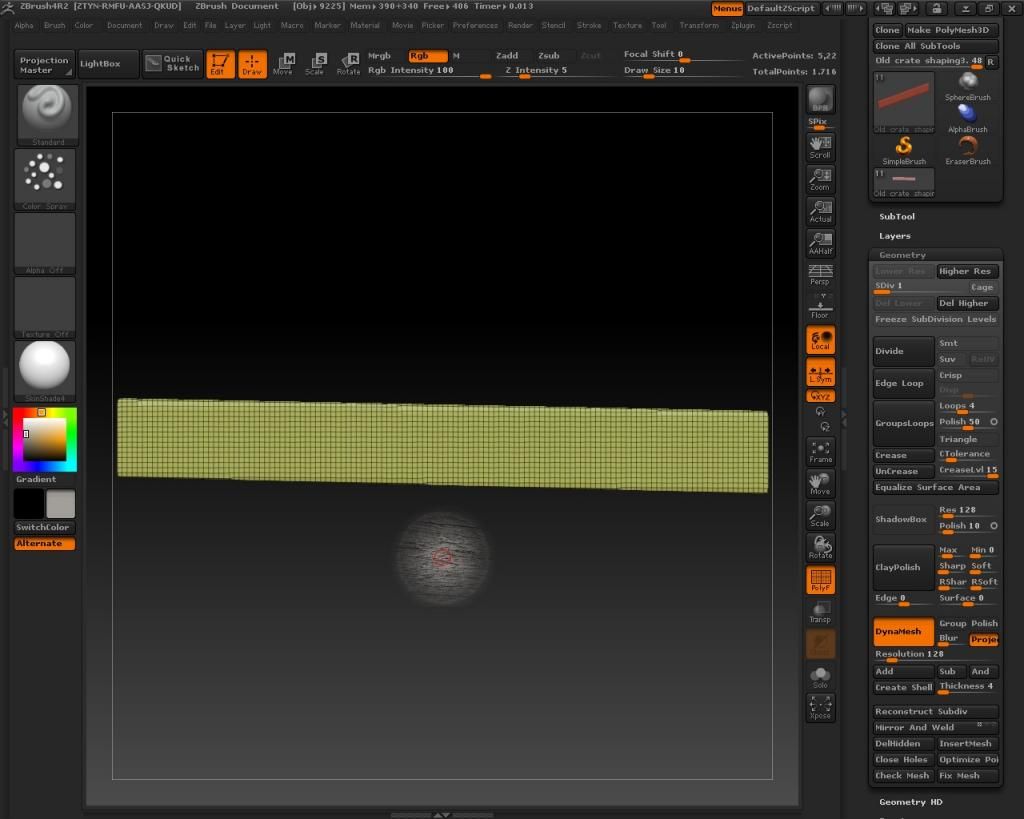
Step 3:
I subdivide the subtool until the sculpting brush sculpts smoothly. I then Open my base texture with spotlight and start painting on the subtool. Then I turn off Colorize and turn off RGB and turn on Zsub and start sculpting the same way using spotlight at a low intensity.
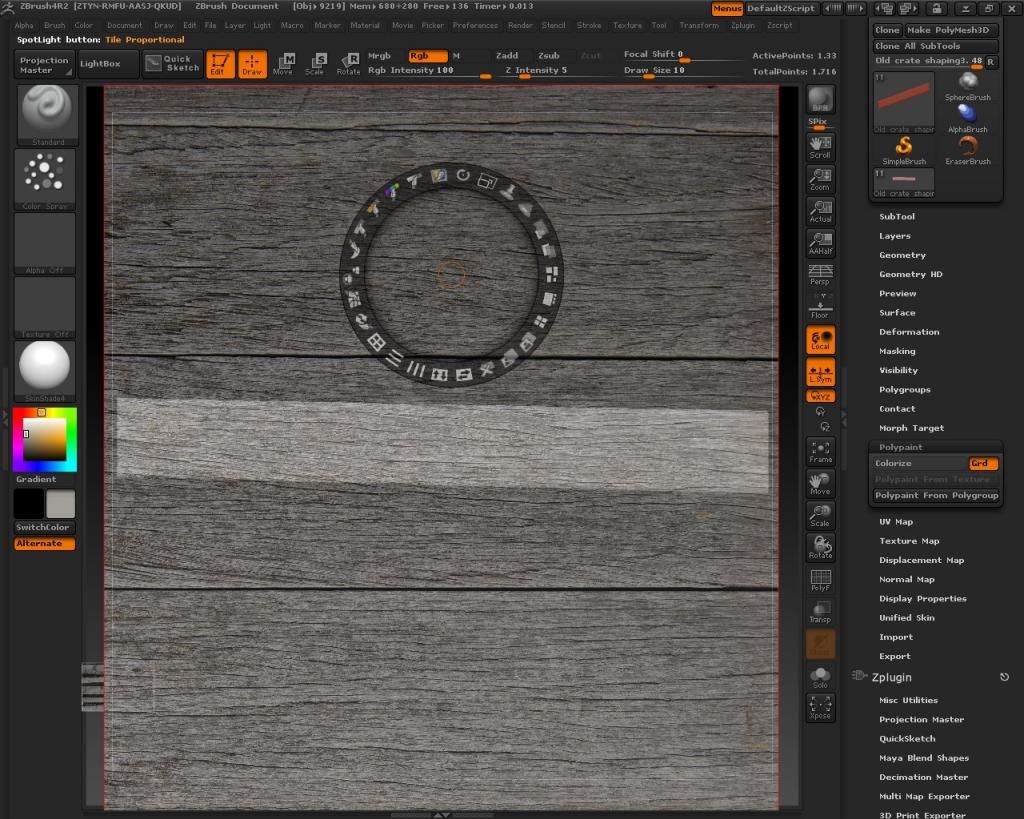
Step 4:
I load detailed texture into spotlight and start painting and sculpting in the detail on top of the base texture.
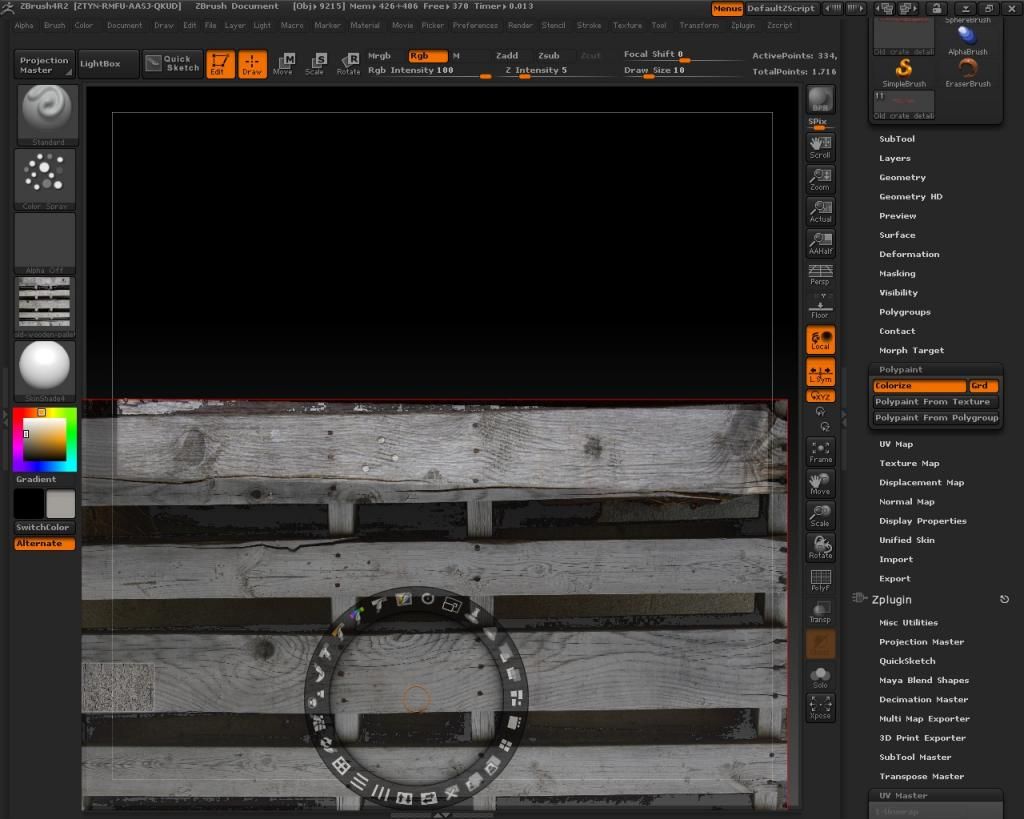
Step 5:
I then Export the diffuse and normal map. I also export the subtool at level 1 subdivision.

Step 6:
I import the subtool back to Maya and apply a new material and apply the Normal Map and the Diffuse map and specular map if needed (depends on material. In this case wood does not need a spec map.) Then I render.

I would export the finished product to a shader application of some kind but my Marmoset Toolbag trial ended and I don't know of a free shader application I can use.
Step 1:
I made the model as low poly as possible in Maya then export it as an .Obj to Zbrush.

Step 2:
I apply Dynamesh to the subtool then I unwrap with UV master.

Step 3:
I subdivide the subtool until the sculpting brush sculpts smoothly. I then Open my base texture with spotlight and start painting on the subtool. Then I turn off Colorize and turn off RGB and turn on Zsub and start sculpting the same way using spotlight at a low intensity.

Step 4:
I load detailed texture into spotlight and start painting and sculpting in the detail on top of the base texture.

Step 5:
I then Export the diffuse and normal map. I also export the subtool at level 1 subdivision.

Step 6:
I import the subtool back to Maya and apply a new material and apply the Normal Map and the Diffuse map and specular map if needed (depends on material. In this case wood does not need a spec map.) Then I render.


I would export the finished product to a shader application of some kind but my Marmoset Toolbag trial ended and I don't know of a free shader application I can use.
Replies
-Look into high-low poly baking. Have a separate UV'd low res version (which you have more control over topology) then bake the details like normal/occlusion/diffuse from the high res to the low res. As opposed to working with a low subdiv version of the high poly.
-The topology of the low res could be improved:
-I suggest you reduce edge loops in the orange areas and increase detail in the areas where there are knicks/cuts/deformations. (silhouette and lighting detail areas)
-You would get better topo with decimating it if you want to go that route.
Also, it looks like your edge loops may be spiraling? Sometimes happens with dynamesh
Pipeline in regards to the plank.
Dyamesh doesn't make good retopology mesh. It's only useful for giving you even quads at a certain density. At best, you could use ZRemesher, but there's ways to get a good retopo mesh if you build a solid, low-poly, subdividable mesh first.
Revising your workflow for this plank:
1) In a 3D Package (i.e. Maya, 3dsMax, etc) model a subdividable rectangular prism
2)then bring it into ZBrush.
3) Sub-divide, sculpt, polypaint,
4) export out a Decimated version of the sculpt. (export another HighPoly that retains the polypaint, or reapply the polypaint onto the decimated mesh)
5) In a 3D package, remove the control loops from your original low poly, or get it to conform to you existing high poly as you want it. (The key is that this is less work then having to hand retopo something. This becomes ESPECIALLY effective when you have complex geometry.)
6) UV unwrap the LP you have made WITHOUT having to reopologize.
7) Bake your Normal and your Diffuse Texture.
And wood needs a spec map. The only way you see anything in this real world is because light bounces off of it and into your eyes. If an item lacks ANY specularity, it means it's just black. Wood has specularity. It's a low power, but it still has some.
In regards to your spotlight usage, for your sake as a learning artist, try to sculpt in the wood yourself using Alphas. When you need to get creative, your control over your available tools like alphas and brushes will help you past the hump of exact references.
Also, you might want to have this Orb-Crack Brush for future use. It does things damstandard will not do.
orbart.free.fr/Orb_Cracks.ZBP
As modsoft as said, you only need to add more polys to where silhouette is going to need to be accounted for. Now, for JUST this plank, feel free to account for the cuts, etc, that one will see when seeing it straight on.
But extrapolate the method to full on environments, including props. Are you going to waste polygons (and in effect, rendering time for your game engine) on little nooks and cuts of a single plank in addition to all the other trees, building faces, vehicles, and roads you need to build? It becomes a prioritziation effort.
If the player is going to really pay attention to a tiny little crack, sure throw more polys at it. But if little focus or attention should be brought to it at all, polys should be focused elsewhere where it is going to be more important. In the end, it's about serving the game. What serves the game best and most effectively when you have a limited number of things to build?
An aside:
I recommend ditching learning about Diffuse, Specular, Gloss (not Normals) at this time and get focused on Physically-Based Rendering (PBR) Texturing. This is what most game engines seem to be focusing on, and Diffuse and Specular are last-gen.
You forgot to sculpt and texture. :poly124:
You should do what JadeEyePanda said. (+ don't forget to get reference images)
Is it because I used spotlight? Does that not count as sculpting and texturing?
Not really...It's because you haven't used anyhing other than spotlight. You achieved approximatin of height from image instead of forms as they really are.
(You wouldn't call mashing photos together "painting".)
https://www.youtube.com/watch?v=NOUEbT5d7xE&list=PL3bRqax9US6LhaAPLagGp7j5RtuvEUB0H&index=25
Just from seeing your posts here recently I think you need to get better at learning, and finding ways outside of tutorials to learn from. Tutorials are fine to pick up some tips and tricks and technical know how, but they will not be able to teach you to be a better artist.
You should probably stick to hand painted style type things because of your computer specs, but you need to understand that style is not an excuse for a lack of knowledge. You have to understand what makes a metal read correctly regardless if you are doing a PBR next gen workflow, or a hand painted diffuse only workflow. Every material out there has specific properties that you need to understand and study, and tutorials are not really going to teach you those things.
So first thing is find a high quality tutorial to learn from to get your base knowledge and a good workflow setup. The one your posted has an awful end result that I could see no benefit for you to actually watch. Try these:
This one is probably the best:http://3dmotive.com/series/hand-painted-enviro-texturing.html. Notice the level of quality of the final asset, that is important.
Other good one for smaller props:http://3dmotive.com/series/hand-painted-texturing.html
This wont teach you to be a better artist, that is one you. Doing short deliberate studies will help with that. Doing copies to try to replicate professional level of work is a good way to learn, reading art books, painting/drawing from life, ect. I really like these little material studies people do:
Those will really push your rendering skills and material knowledge.
Hopefully that helps get you going in the right direction.
I'm starting with this tutorial http://3dmotive.com/series/hand-painted-enviro-texturing.html which was recommended.