Minienvs and studies sketchbook
polycounter lvl 10
Hi everyone!
Time to start a new personal project / practice thread.
This will be sort of a sketchbook thread. Actually continuing from here : http://www.polycount.com/forum/showthread.php?t=146601 , but i'm starting clean with new scene and generic title, i'll get back to that minienv, would be perfect to retexture in Substance, but this 1st.
Base idea for this one is pretty much just technical : 1- learn substance (painter for now , designer next) 2 - assemble all in unity 5 , practice pbr shading and enlighten bake.
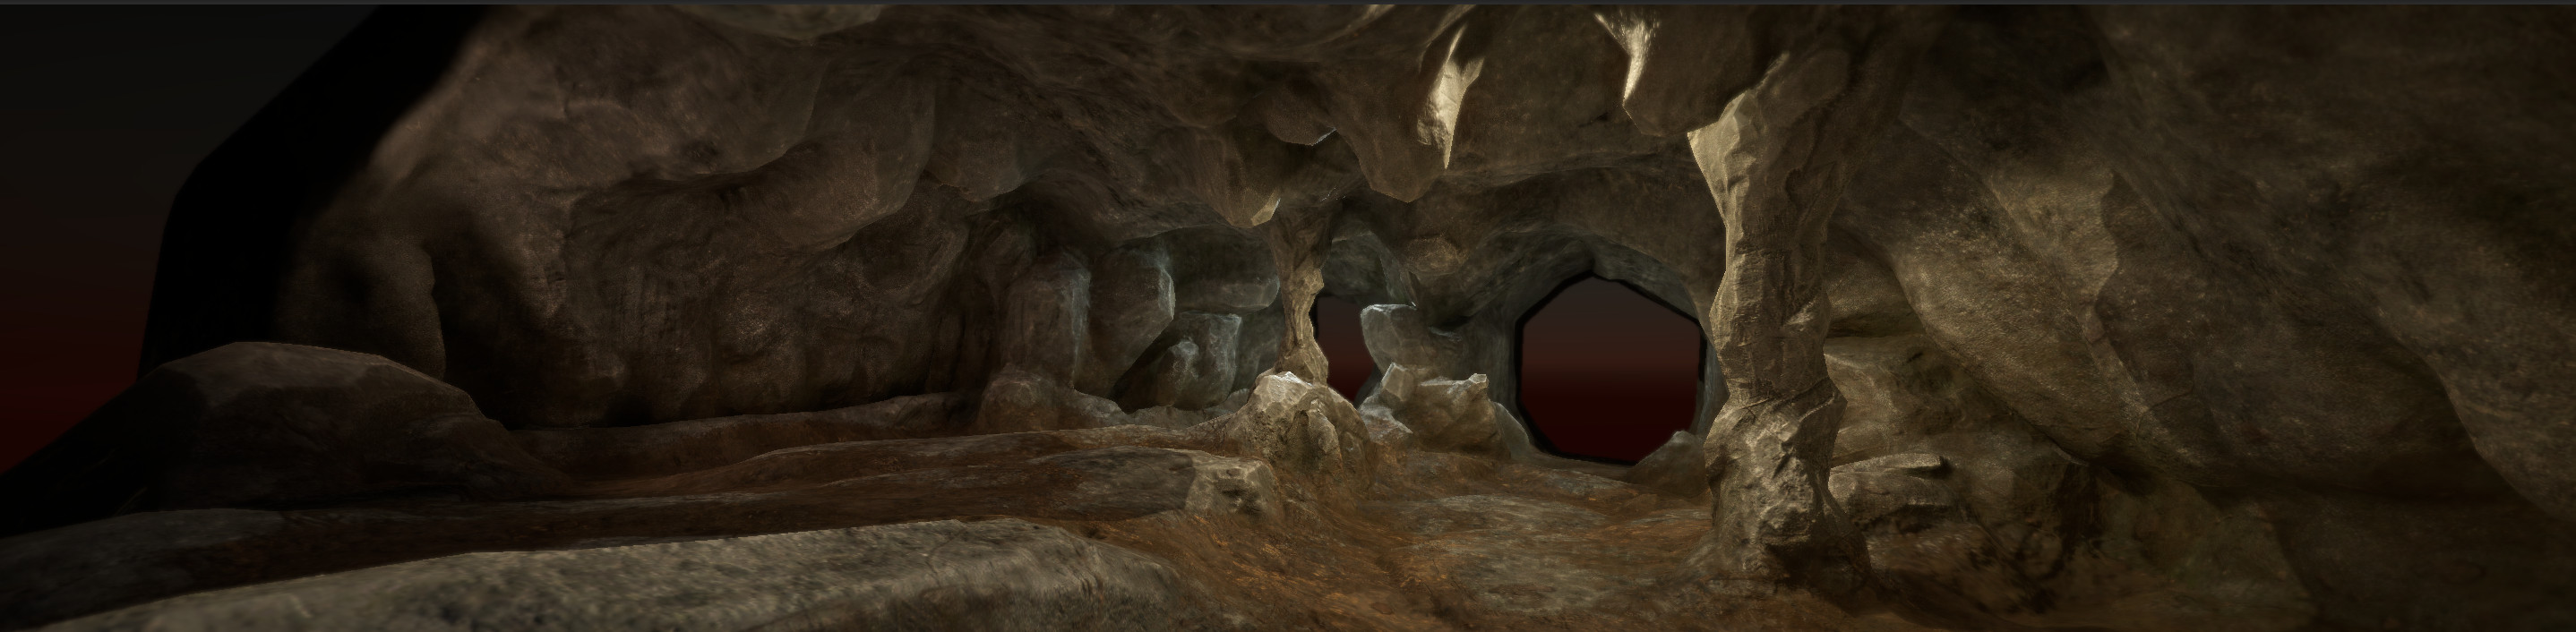
So it's a random collection of props of different materials (rock , machinery, concrete and wood next) , and it's an interior / cave with lots of room to see GI working (and try to figure how all the crap going on with unity's enlighten uv pack .. sigh..)
Details later, pics 1st ! :
LATEST PIC :
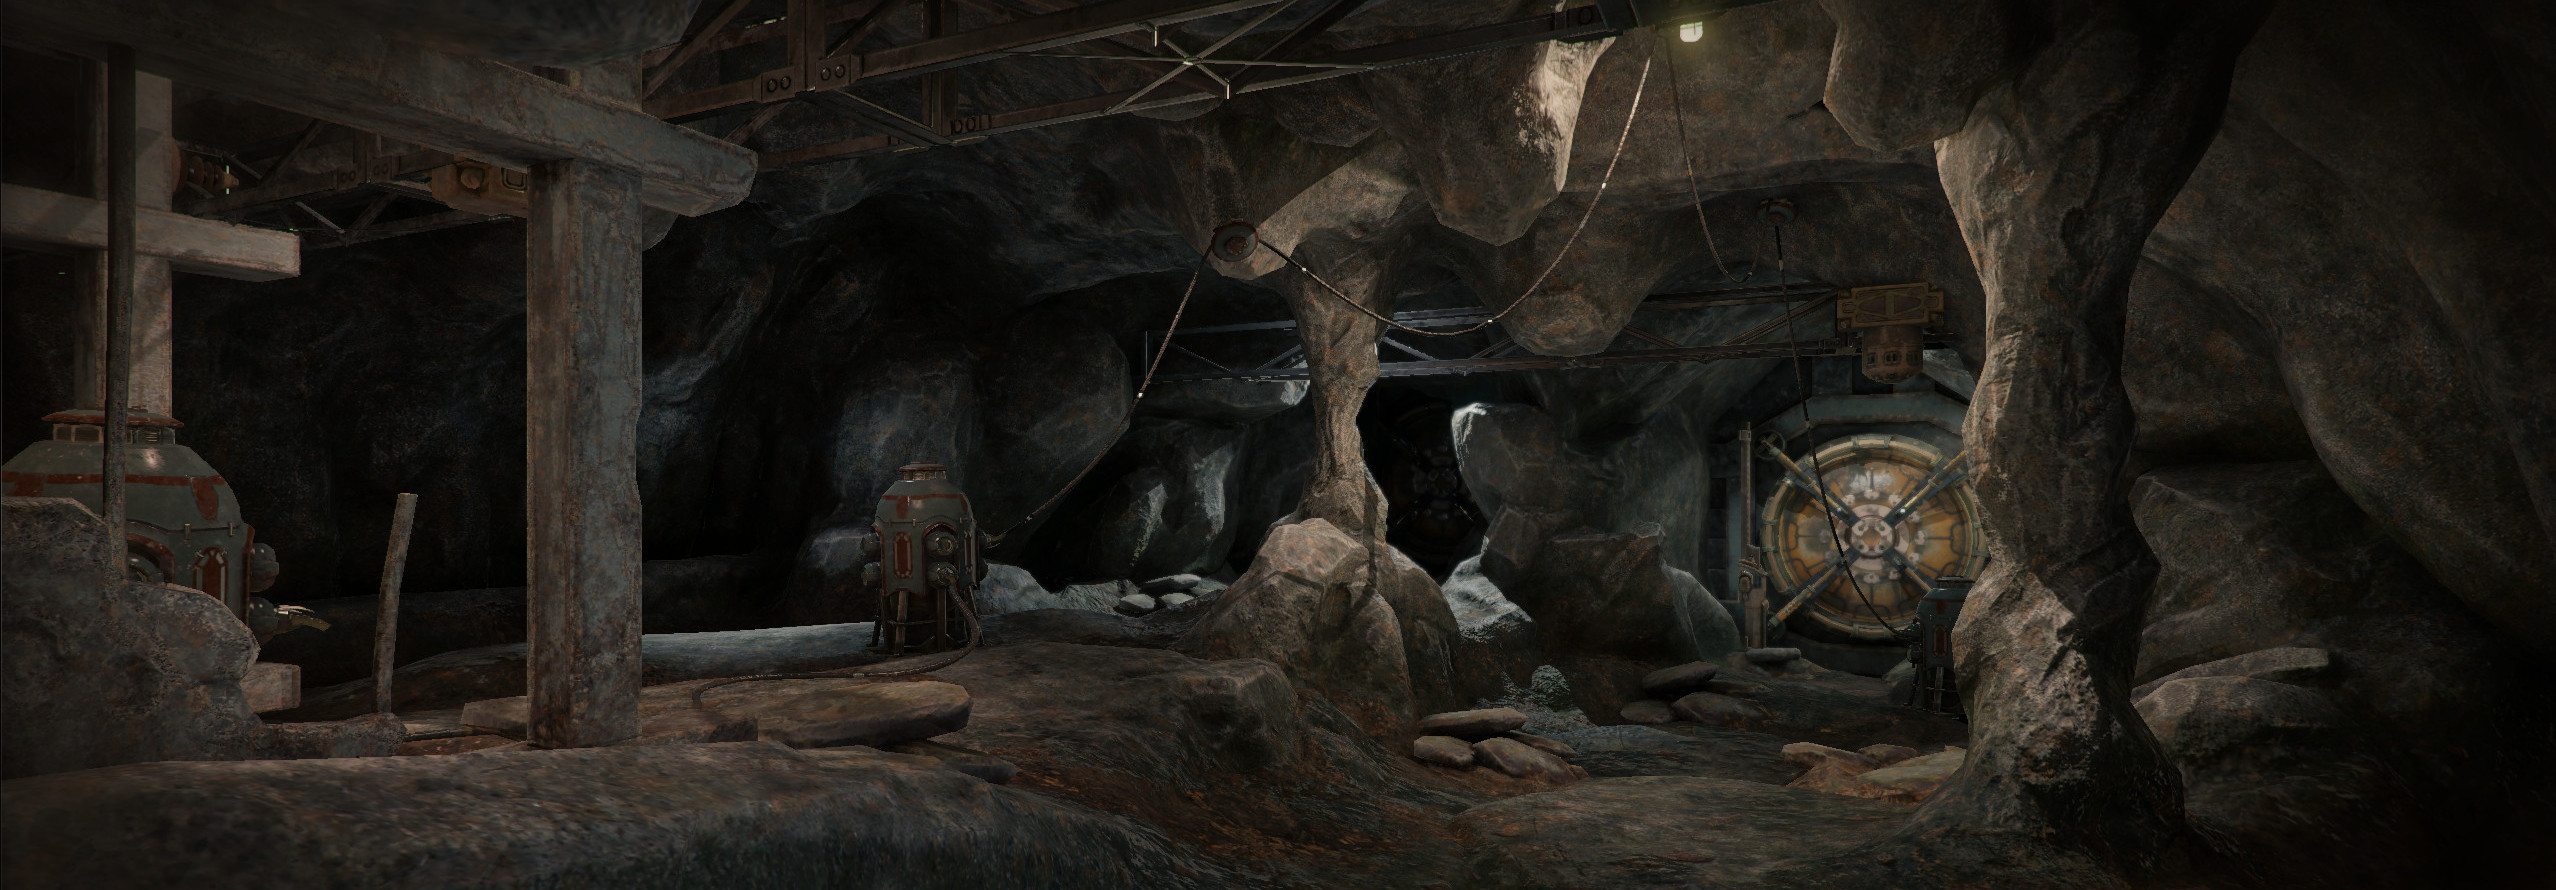
Rock sculpt :
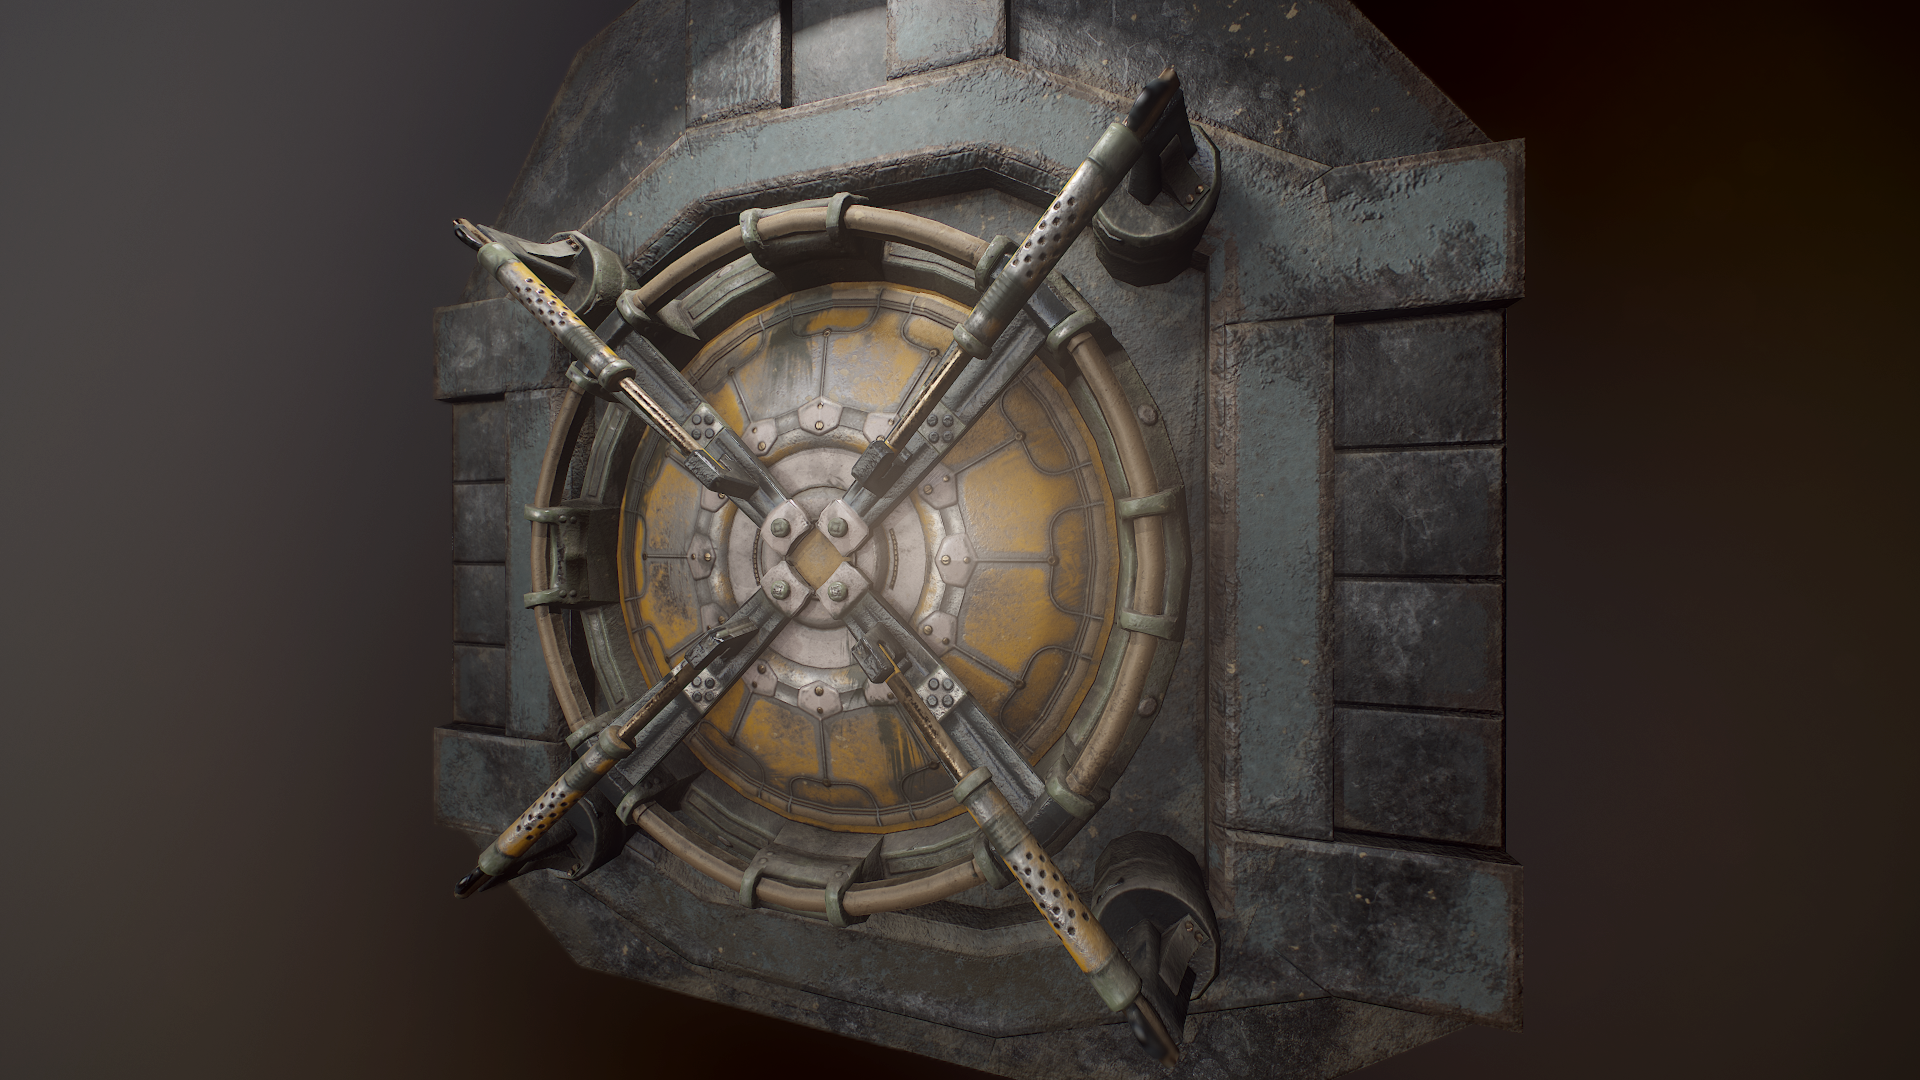
Blast door :
Energy pod :

Time to start a new personal project / practice thread.
This will be sort of a sketchbook thread. Actually continuing from here : http://www.polycount.com/forum/showthread.php?t=146601 , but i'm starting clean with new scene and generic title, i'll get back to that minienv, would be perfect to retexture in Substance, but this 1st.
Base idea for this one is pretty much just technical : 1- learn substance (painter for now , designer next) 2 - assemble all in unity 5 , practice pbr shading and enlighten bake.
So it's a random collection of props of different materials (rock , machinery, concrete and wood next) , and it's an interior / cave with lots of room to see GI working (and try to figure how all the crap going on with unity's enlighten uv pack .. sigh..)
Details later, pics 1st ! :
LATEST PIC :
Rock sculpt :
Blast door :
Energy pod :
Replies
I'm still wrapping my head around lots of things , from calibrations of exports from substance to unity ( what's linear or srgb , if unity "albedo" is substance's base color or diffuse , and whether to use metallic even if i feel more in control with spec/gloss workflow..)
The concrete is a lot simpler than i intended : simple model and simply painted in S. Painter .. Soon i'd like to try making it without sculpting a base in blender (as i did here , same was for the rock) instead make it just from lowpoly and procedurally crack and damage it ..
Meanwhile i did a 1st experiment in Designer (it's a lot scarier than painter
The overlay intensity might be exagerated here, but detail maps help a lot .. it's good that i'm testing in a 'real' (if small) Unity level , really : Even with texture res at 4k for each of the 4 main props , the result on screen isn't super sharp , unless i add some tileable detail .. Of course the det. has to match nicely with the material ,while this is still generic patterns (same on concrete and rock)
Also helped me not to go insane while patiently learning S. Designer
Also experimenting with detail textures : this one is doing surprisingly well for a generic one .. hides the (relatively) insufficient res. of the base without 'overriding' it.
I know that in some cases (like the viking village demo huts) the detail can have a more important role .. but hopefully it can work well even not going to the extent of only putting dirt and other effects in base and all the detail into detail maps (for wood it just makes sense to put veineer into detail, but for rock.. it was harder to find the perfectly matching tileable for this, or wasn't as good as a slightly higher res unique texture )
I'm still not convinced i'm doing everything right with reflections.. the glossiness channel gamma seems to match between substance and unity (but i'm not 100% sure) , but what's worrying is how bright is the spec color equivalent to metalness = 0 (checking channels in editor)..
That looks just wrong, indipendently from all i can change in settings or my workflow.. if metalness 0 is translated by unity into specular as such a bright grey .. can't be right. no wonder glossy non-metals look wrong in unity.
(so far , infact i used spec/gloss never metalness..)
Also.. my reflection probes are quite dark. Probably is a normal result for a scene like this (interior , no sky or big bright surfaces) .. so i set them to 1,5 mult.
Ok, but not ideal .. i don't need stronger highlights in my spec , i need more 'fill' speculars (so not a mult. but a gamma correction)
But once accepted that , i'm finding it a great way to tweak the mood and look (i mean the 2 realtime gi global multipliers .. of course in addition to image effects and lamp settings )
It's definitely easier to fine tune lighting when gi tweaking is realtime too
Base tileable done in s.designer (messing with Kay Vriend's free sbs ) , then assembled on the model in painter (dropping that new base into a tweaked "pirate-wood" smart material from s.share) .
Update on the small door, redone wood based on smart material used on the barrier (.. which itself was imported from the 1st pass on the door
Also .. there was some gamma issues after all ...
Seems i get better results, much closer to Painter and Marmoset if i export "Glossiness squared" .. i did actually read about this a while ago (an artist reporting same doubt i had) and it made sense but i hadn't yet got around to try.
Problem is that glossiness channel needs a gamma correction from painter to unity. I hated the idea of adding hidden tweak layers to fix it .. luckily seems to be already possible / considered (but not set by default) , and that "gloss squared" export channel has just the right correction on it.
(left is default gloss export , right is gloss. sq. )