Organic Texture Practice - It Rocks!

polycounter lvl 15
Update 1-27-2015
In other news (shameless plug), I have recently added most of these textures to my gumroad if anyone is interested!
https://gumroad.com/purepolygons
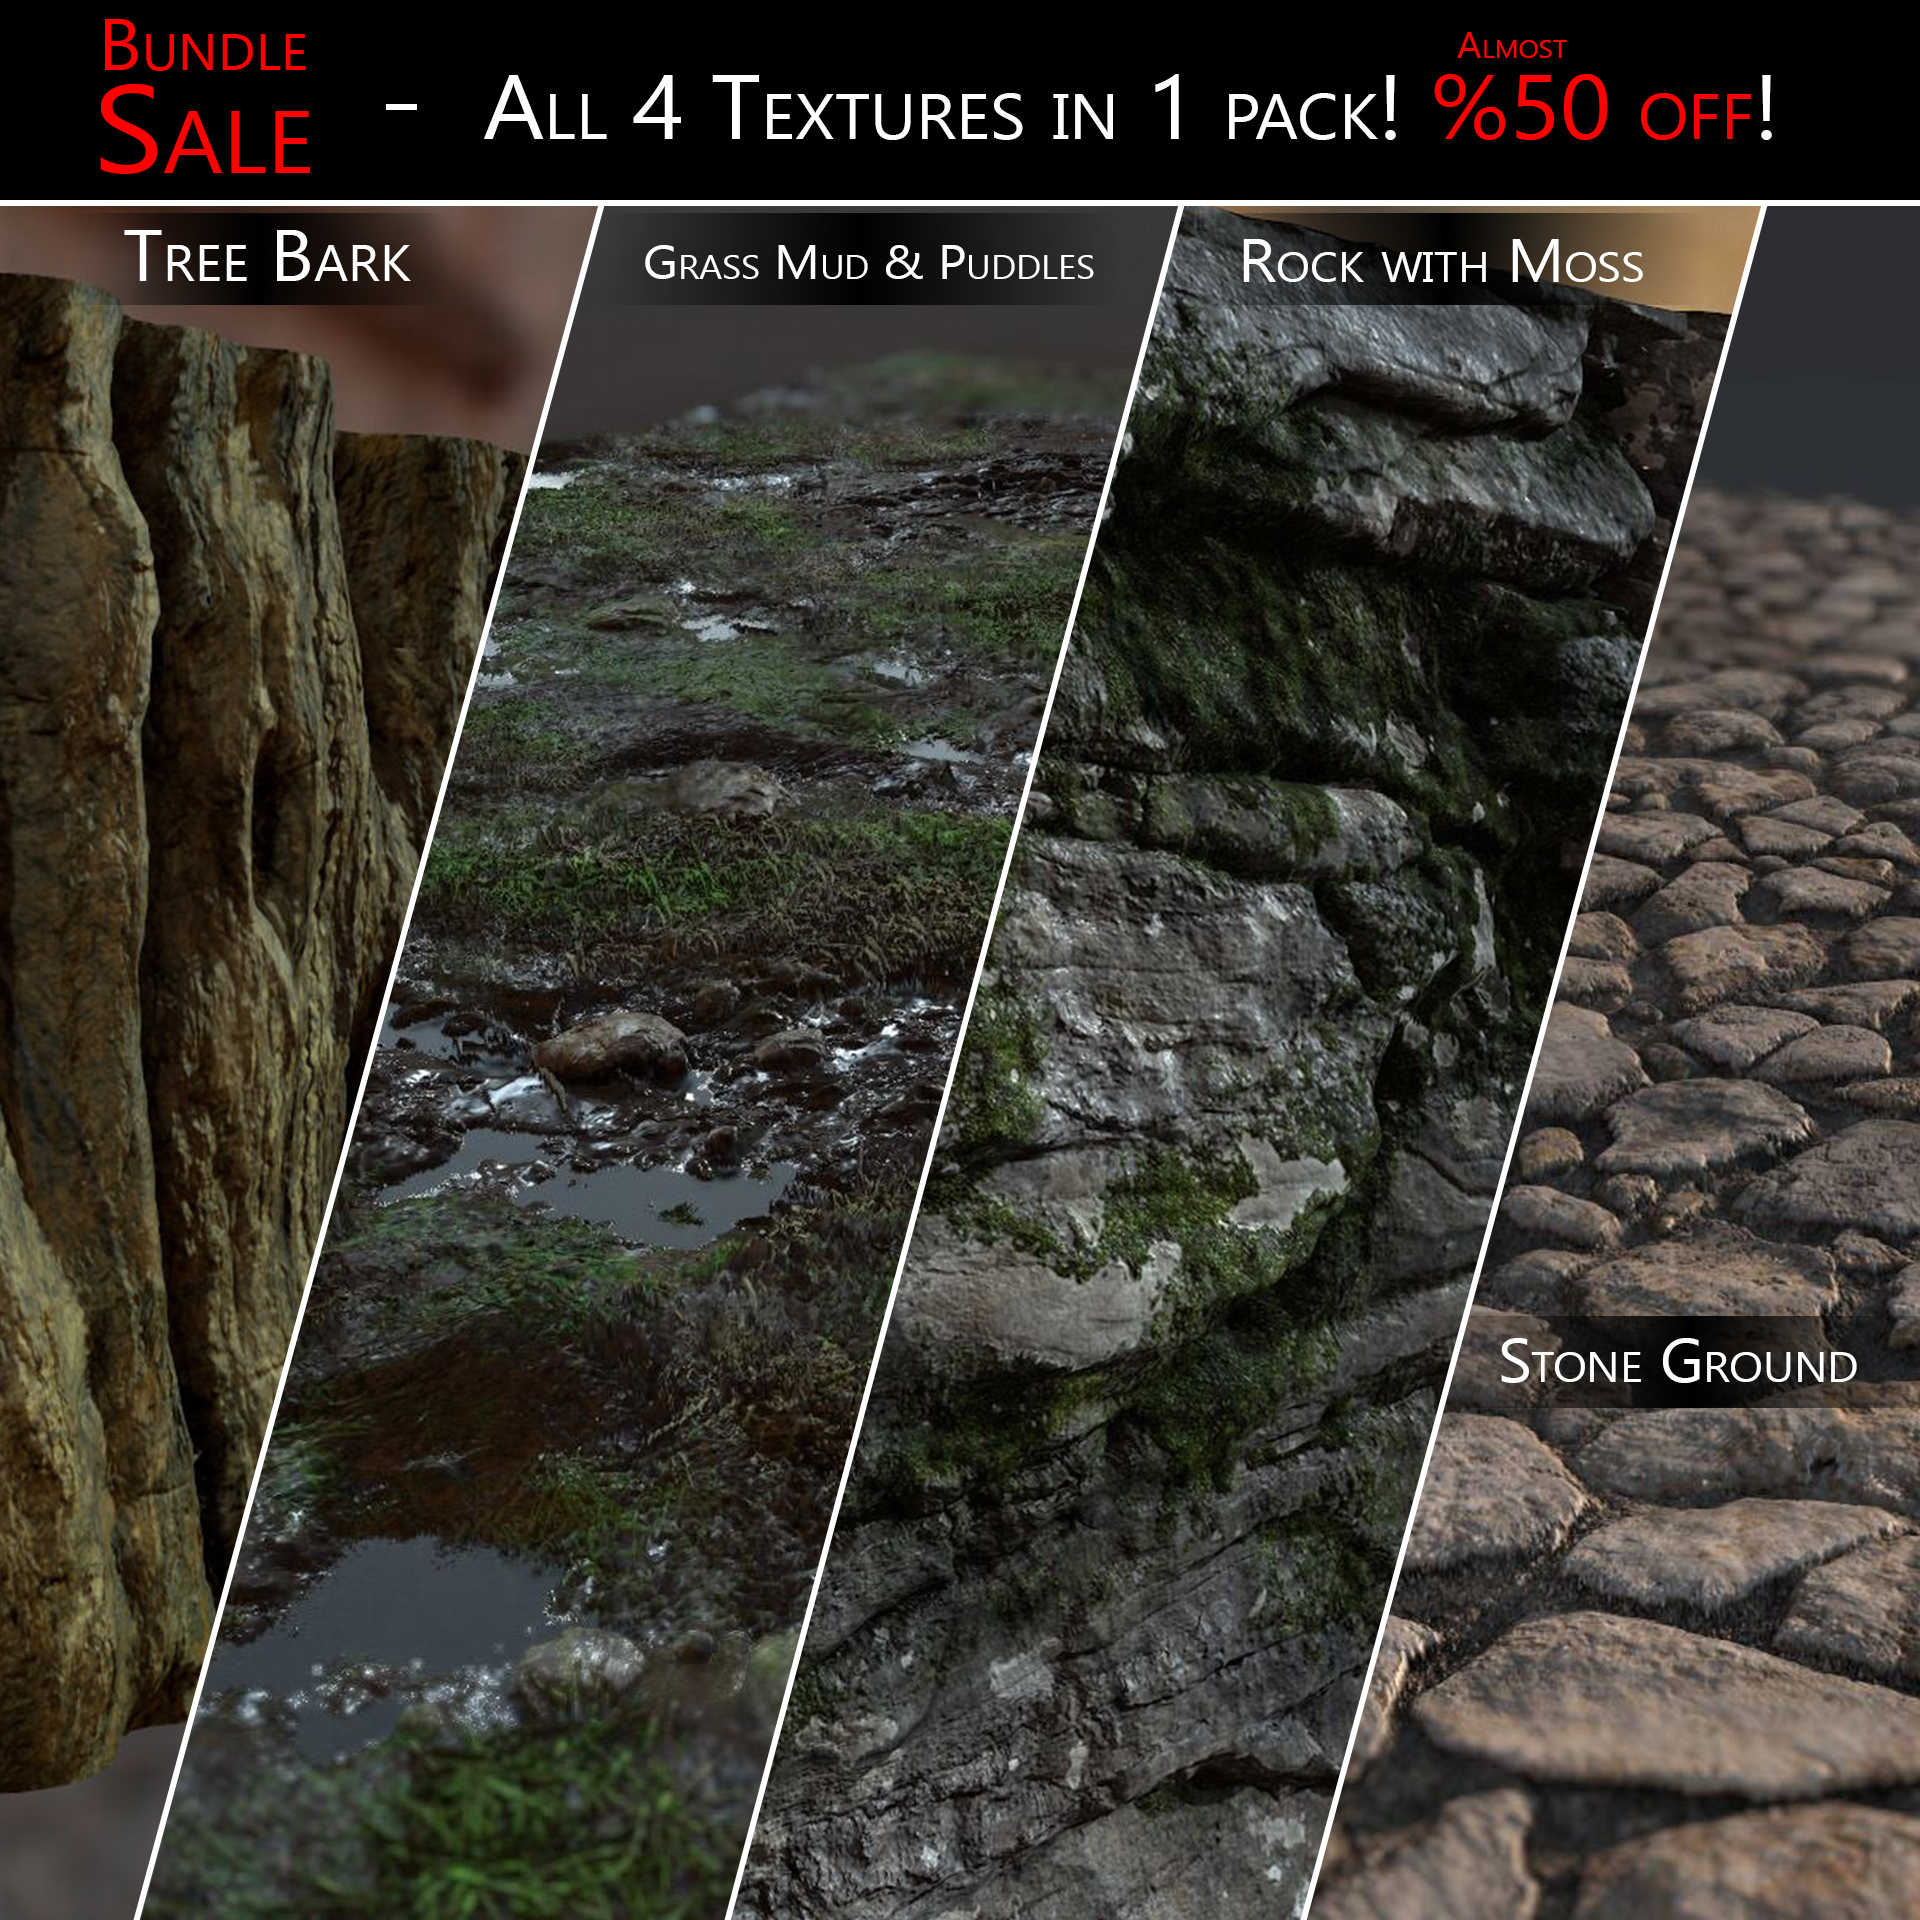
There's also the Building Breakdown and some other free goodies on there. Enjoy!
- Jacob
Original Post

Hey guys, so it's been a long time since I posted anything on here, but it's also been a long time since I've been able to do some of my own personal work. So I've been messing around with Zbrush trying to push my textures as far as I can within Zbrush before adding any after touches with photoshop. Here are a couple of the textures I have started with so far and I will be posting more as time goes on. It's just rendered in Marmoset with some displacement on some flat planes. Hope you all like it!
Here are some rocks/cliffs I made


Here is like a muddy/wet/grassy/rocky/watery/many things ground I made


I'm working on a few others right now and will be adding them in a couple weeks when I get some more free time. Enjoy!
---=== UPDATE 8-2-2014 ===---
Hey guys,
So I have been working on some stones for the ground. Like a stone pathway built by people. I didn't break this one up into multiple sub-tools for the stones, but tried a new technique of simply creating a height alpha in photoshop based off of an image that I tiled. I then used the height alpha as a base to sculpt the texture in the hopes that I could achieve a pretty strong result still, but a much faster workflow than sculpting each individual stone as a subtool, or using repeated subtools. Hope you guys like it


--- === UPDATE 8-9-2014 === ---
I'm really happy to hear everyone likes the breakdowns! Thanks for the comments everyone. It's comments like these that keep pushing me to try to make some awesome artwork.
So I have been working on a new texture guys. I wanted to try my hand at making some tree bark, trees have always been pretty tough for me so this was definitely a texture type I wanted to hit during this practice of mine. So this is a bark NOT like an Oak Tree with very deep bark and lots of crusting falling of chunks of the tree. I was going for more of a Juniper Red Tree or a London Plane Tree. Comments and Critiques are always welcome and I hope you guys enjoy the work!


--- === UPDATE 9-9-2014 === ---
In the meantime I have been at it again this time trying to make some branches with leaves on them. I feel pretty good about it, but I can't quite put my finger on it something seems off about them. Maybe I'm just being harsh on myself as most artists are.


Replies
Seriously though, great work man! Care to give a break down on how you achieved that result with the grass and the mud and the water?
So I started off by sculpting mud in Zbrush just as you normally would. Getting some cool shapes and some height variation into the texture. I then sculpted a few rock subtools which I placed around the mud in different areas.
As for the grass, I created this little guy in Maya and brought it into Zbrush to start working with.
From there I simply duplicated the subtool of the grass multiple times, rotating and scaling it all over the mud, moving it in front and behind the mud to get different height variation. After I had a pretty good coverage of the grass on top of the mud, I combined all of the grass subtools and did some quick pushing and pulling with different brushes. Used the spiral brush to spin some of the blades of grass and the move brush to pull and push different areas until it looked the way I wanted it. I then rendered it as a different color within Zbrush so that I could get a quick select for it in photoshop to texture it and paint it here is what the zbrush looked like.
Moving along now, I'll talk a little bit about the puddles. After I finished the sculpt I exported the height map and brought it into photoshop. (This could have been done much easier in zbrush but the puddles were a secondary thought that I ended up adding in photoshop later) So here is a quick image of how I created the puddles within photoshop.
Lastly here is a nice gif for you guys showing off how much the tesselation on the grass helps to give it that effect. The effect can also be achieved with a Parallax, but I chose to go with Tesselation for this one as it tends to give me better shadows and AO in rendering. A with and without tesselation gif image.
absolutely DO NOT make water very bright in your reflectivity map. water has an extremely LOW reflective point, because most light passes through it! water is around 0.02 linear reflectivity.
@almighty_gir - Yes you're right, normally I would do it that way in Zbrush by adding a plane underneath the mud to get the effect for the puddles. In this case I didn't for two reasons. One was that as I mentioned the puddles were an after thought and so I pretty far along in the texturing process already within photoshop when I wanted to add them. So it was quicker in my case to do it this way. And secondly, I realized after doing it this way that I was able to get some great diffuse information from my sculpt "under the water" by doing it this way. So it provided a better result in the end.
As for the tut picture, thanks a lot for the catch! We have our reflectivity maps inverted in the Fox Engine so I'm used to making them bright in both maps. But you're totally right, it should be very dark in most every other engine. I have updated the image to "reflect" your comments
@Grindigo - You're totally right and I would normally do it the way you mentioned also. For the purposes of this practice for myself though I was seeing simply what I could accomplish with a flat texture sheet and no additional shrubbing or propping on top of the ground surface. Thanks for the comment!
@AlecMoody - That's a good question. Unfortunately I don't have an answer right now lol. I was mostly doing this to practice zbrush a bit more, but who knows maybe I will turn all of these into some kind of small scene when I'm done with them
Thanks again for all of the comments, let me know if anyone else has any other questions. Otherwise I hope to get some more textures finished up here soon
HNGHHHHH.....
It was very useful for me for creating my own terrain texture on my diorama
@sltrOlsson - I will see if I can put something together in the next couple of days. During the week I don't have much time right now, since we're crunching at work. So I apologize if it takes me a little while to get the breakdown up.
@MeshModeler - Suk deez nuts, get back to work lol
Thanks again everyone
Haha, so I put together a little tut for the rock today. I won't be getting too much into the specifics of the sculpting process, as that is kind of different for everyone, but I will talk about the brushes and techniques I use.
So something that i didn't mention about the grass/mud texture that I should have. Is I use a tiling texture plane technique for my textures that I learned from Brad over at Naughty Dog. There is a great video on it here.
[ame="
This technique allows me to create a tileable texture from within Zbrush and helps me save a lot of time fixing seams in Photoshop later.
- So using this tiling/wrapping brush technique I start off with a flat plane for the rocks and begin sculpting large shapes with the clay brush. I am still in a decently low poly mesh right now around 20k. This allows me to get the large forms in and the basic details for the rocks that I want with quick iterations pushing and pulling. While I am doing this I am using the Trim Dynamic brush to polish off areas and get some nice sharp edges for the rocks.
- After I have a pretty good base mesh to work from on the rocks I think start adding a lot more poly's and get up into the millions. Here I am using a variety of brushes to get details in. I personally like the MalletFast2 brush which I use to chip a lot of edges off. While doing this I am still using the trim dynamic brush to polish areas, I am also using the noise brush in a spray mode to get some nice rocky crevices and details across the surface. I'm also using the slash 3 brush for some of the cracks in combination with the MalletFast brush. At this point I am about here in detail.
Now I want to start adding the moss and the light patches across the rock. So I first Grabdoc my rocks so that I can take this into photoshop and start creating a mask for where I want moss to be placed. I have an image of my rock sculpt in photoshop now and I am making the moss a black color mask and the white areas a white colored mask. I will be bringing this back into zbrush to do something special with it. Here is an image of the mask I created for my moss and patches across the rock. I will be using it to get some nice bevels on my rocks in zbrush. (This can also be done in post using crazybump or ndo, but i wanted to do as much as I could in zbrush)
PS: Don't ask me why, but whenever I import my mask into Zbrush, I have to flip the image vertically(not rotate, FLIP!) So I bring the alpha in upside down and it shows up correctly on the mesh, maybe someone can explain to me why this happens? But it is a necessary step for myself.
Now that I am back in Zbrush I am going to import my alpha/mask that i just created in photoshop. I then want to mask my zbrush tool using the alpha that i created in photoshop. So I go here.
After my ztool is now masked using the alpha that i made in photoshop, I want to bevel that detail into the mesh. Whatever is grey in my alpha will not move at all. Whatever is black will be pushed back into the mesh and whatever is white will be pushed out towards the camera just like a height map. So using my mask I go to the deformation tab in zbrush and offset my mesh in the Z-Axes. Because for me, the Z-Axis is facing the camera so it will push and pull things properly.
I then offset the mesh until I get the desired amount of bevel from the alpha that is what I want. Since my ztool is still masked I can now use this mask to sculpt in the moss detail without affecting the rock areas. So I simply went over all of the moss with the noise brush. Nothing really special here. This is the resulting zbrush sculpt after the deformation mask was applied and the noise was sculpted on top of the moss.
From there it's just normal photoshop texturing and I already have a nice mask for photoshop to texture in my moss detail
Thanks for the breakdowns on the process, it is always great to see how people achieve what they do.
Thank you for the breakdown
And thank you for the breakdowns.
So I have been working on some stones for the ground. Like a stone pathway built by people. I didn't break this one up into multiple sub-tools for the stones, but tried a new technique of simply creating a height alpha in photoshop based off of an image that I tiled. I then used the height alpha as a base to sculpt the texture in the hopes that I could achieve a pretty strong result still, but a much faster workflow than sculpting each individual stone as a subtool, or using repeated subtools. Hope you guys like it
Jacob, would you be open into sharing a little back story into how you got into Kojima productions and what your days are like, MGS is my favorite series ever, really jealous!:thumbup: